Download and install MacDroid on your Mac.
Electronic Team, Inc. uses cookies to personalize your experience on our website. By continuing to use this site, you agree to our cookie policy. Click here to learn more.
Problems connecting a Kindle Scribe eReader to your Mac can cause several knock-on effects, such as not being able to transfer important PDFs. These devices are difficult to connect with MacBooks because, unlike other Kindle devices, they need third-party software.
MacDroid is a user-friendly connection method for transferring files between your two devices. Today, you’ll learn how to use MacDroid with your Kindle Scribe.
Note: Since the Kindle Scribe is the only version of Amazon’s e-readers that you can’t connect with your Mac via USB, you need to identify your Kindle eReader and confirm that you have a Scribe.
After confirming that you have a Kindle Scribe, follow these instructions to connect your device.

Download and install MacDroid on your Mac.

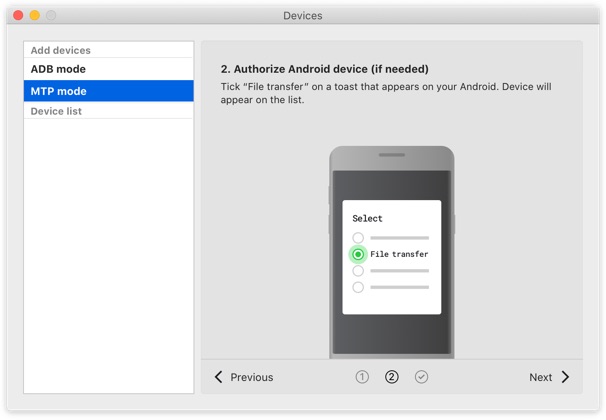
Launch the app and choose the MTP connection.


Connect your device via USB. If you don’t have a USB-C cable but your MacBook only has USB-C ports, make sure you have a USB-A to USB-C adapter.

Click on the Allow button if you have an ARM-based MacBook.

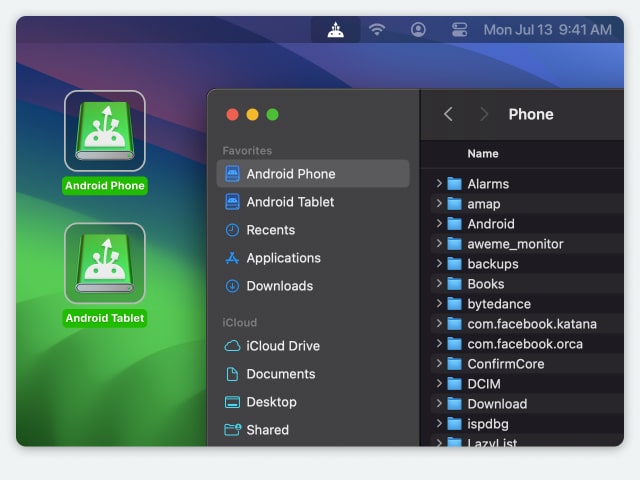
Open Finder and transfer whichever files you want to share with your Mac, thanks to MacDroid.

If your Kindle Scribe fails to connect via MacDroid, you can try each of the following to troubleshoot and solve the problem.
If none of these methods were successful, you should check for damage in your Kindle Scribe and Mac’s USB ports.
You don’t need to worry if you have a Kindle Scribe and want to transfer files to your Mac; MacDroid will help you efficiently do that. All you have to do is download and install the software, before connecting your Kindle Scribe. Enjoy quickly transferring files.
