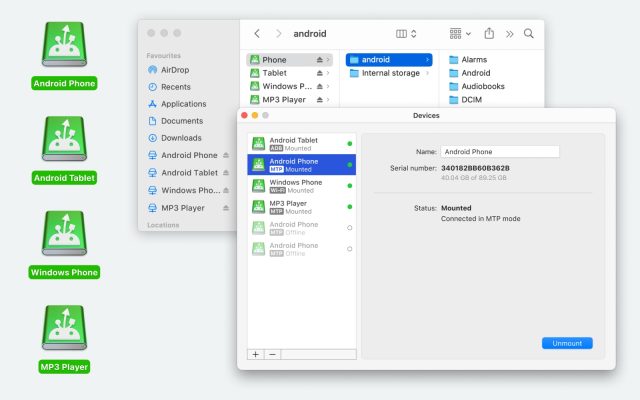
Android phones have become like mini-computers, storing all kinds of information. So the need to transfer files from phone to computer or MacBook arises quite often. While transferring files to a Windows PC via a USB cable is straightforward, the process with a Mac can be a bit trickier. Simply connecting your smartphone or Android device to your Mac might not work as expected. In this article, we’ll explain how to transfer files from Android via USB to Mac, discuss the limitations of native tools, and present alternative solutions to make the process seamless.
How to enable USB file transfer on Android
Before you can transfer files via USB, make sure USB file transfer is enabled on your Android device. Follow these simple steps:
- Connect Android to Mac using a USB cable.
- Once connected, swipe down from the top of your Android device’s screen to access the notification panel.
- Search for a notification that says “Charging this device via USB”.Tap the USB notification and choose the option Use USB for File Transfer.
Native way to connect Android to Mac using USB cable
As you already know, transferring files between Android devices and Mac computers can be tricky, especially when relying on a USB connection, as macOS does not natively support Android file transfer. However, to successfully send photos from phone to Mac via USB, you can use Image Capture, a pre-installed app designed to help Mac users scan and import images from Android devices, scanners, cameras, or other devices without additional software. However, keep in mind that there might be issues while transferring large photos.
To learn how to transfer photos from Android to Mac with USB using Image Capture, follow these steps:
1. With a USB cable, connect your Android to your Mac.
2. On your Android device, choose the “File Transfer” mode as described above.
3. Open Image Capture.
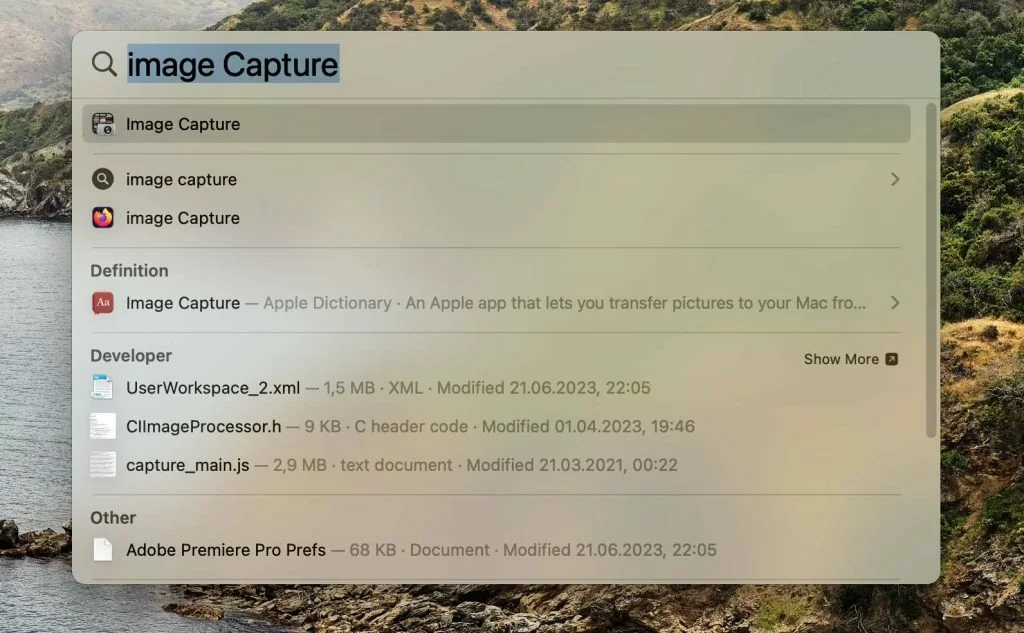
4. Find your Android device in the sidebar and select it.
5. Once your device is selected, Image Capture will display the photos stored on your Android device.
6. Select the photos you want to import.
7. Choose the location where you want to save your photos from the “Import to” drop-down list.
8. Click the “Download” button.
Transfer files from Android to Mac via USB with MacDroid
While Image Capture is a great option for transferring photos, unfortunately, it doesn’t allow performing another file transfer via USB, namely videos, music, different documents and files, etc. That’s why, for such a scenario, users need to opt for third-party apps like MacDroid. Designed specifically for macOS, the app lets you quickly and easily move different types of files, including entire folders, simply by connecting your devices via USB or wirelessly.
The app mounts your Android devices as a disk, allowing you to access them directly from Finder and making data transfer easier. In addition, MacDroid allows you to even edit files stored on your Android device right from your Mac without copying files to your computer first.
You can use MacDroid on up to five Macs and unlimited Android devices. Furthermore, the app can work not only with a great variety of Android phones but also with a bunch of MTP – compatible devices.
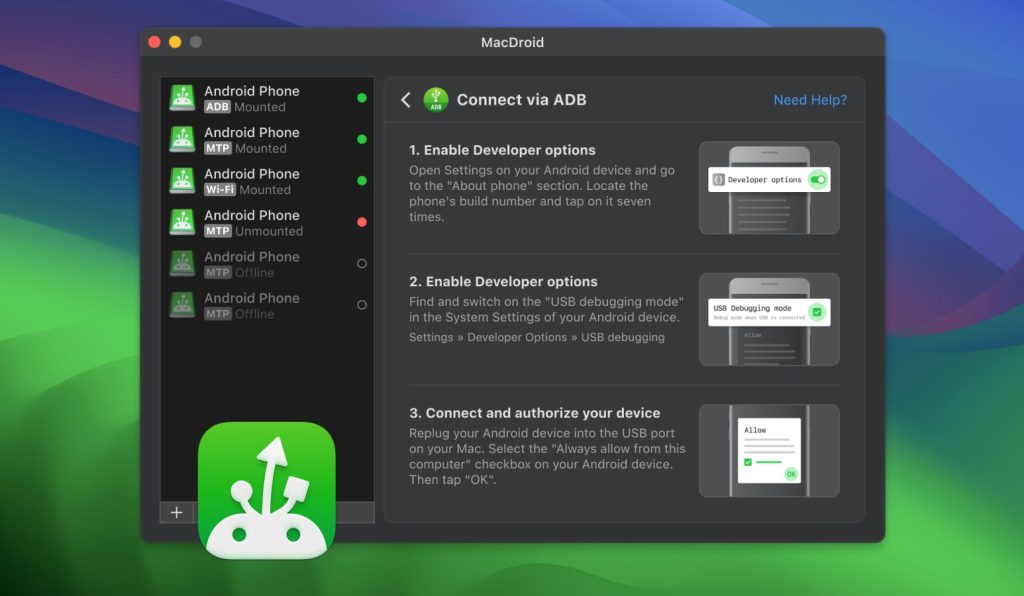
1. First, download and install MacDroid on your Mac.
2. After that, connect Android to Mac using a USB cable.
3. Enable “File Transfer” mode on your Android device.
4. Open MacDroid and select the “Connect via MTP” option. You will see your Android device under “Device list”.
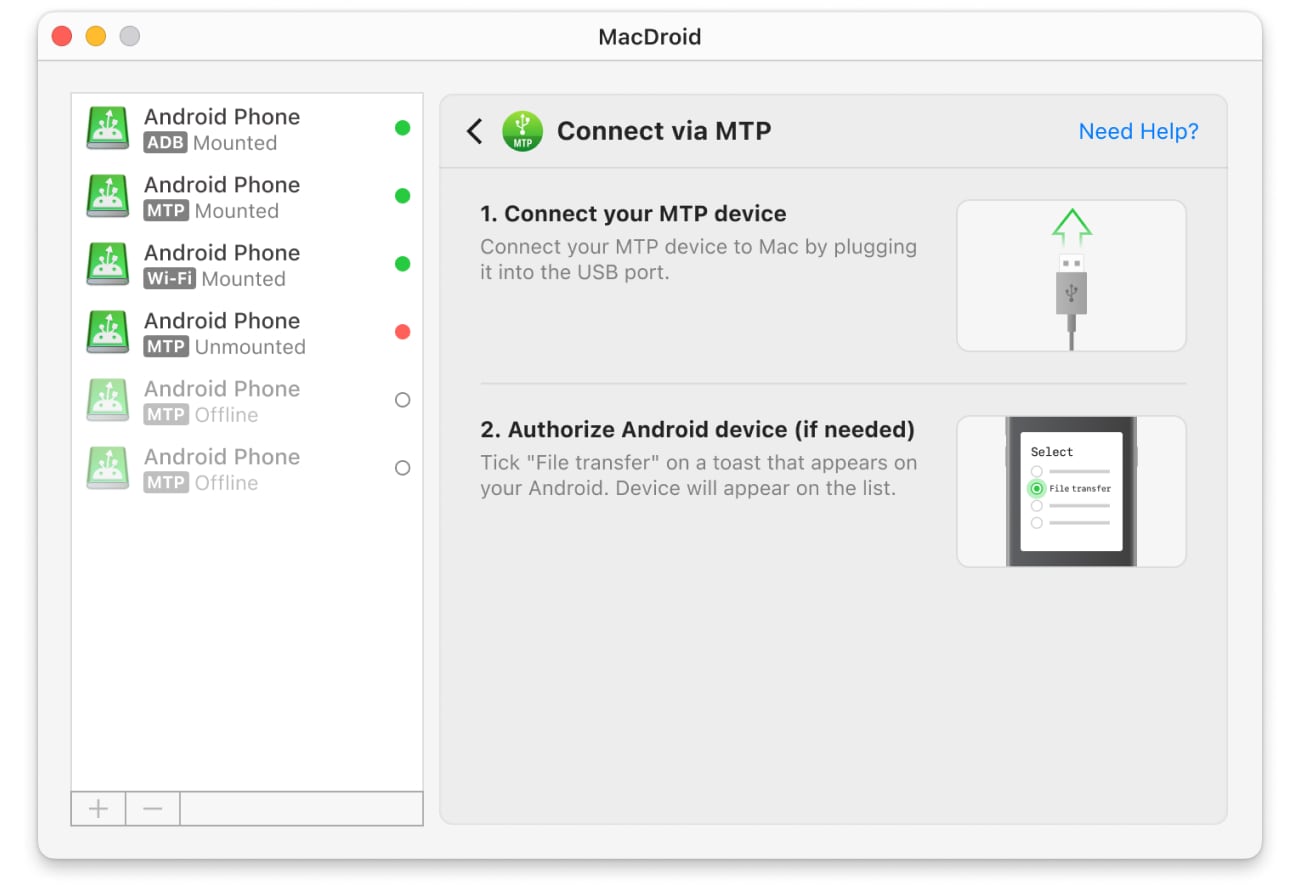
5. Next, click on the “Mount” button to establish the connection.
6. That’s it! Once your Android is successfully connected, you can now access its content in the Finder app and start copying files, photos, videos, etc.
Transfer files with your Google Account (Wireless for Mac&Win)
Another easy way to share files is through cloud storage. The Google account you used to set up your Android phone comes with 15GB of Google Drive storage by default, and it can be easily accessed from your PC or Mac, allowing you to send multiple files at once. Another great plus is that Google Drive is available to every Android user.
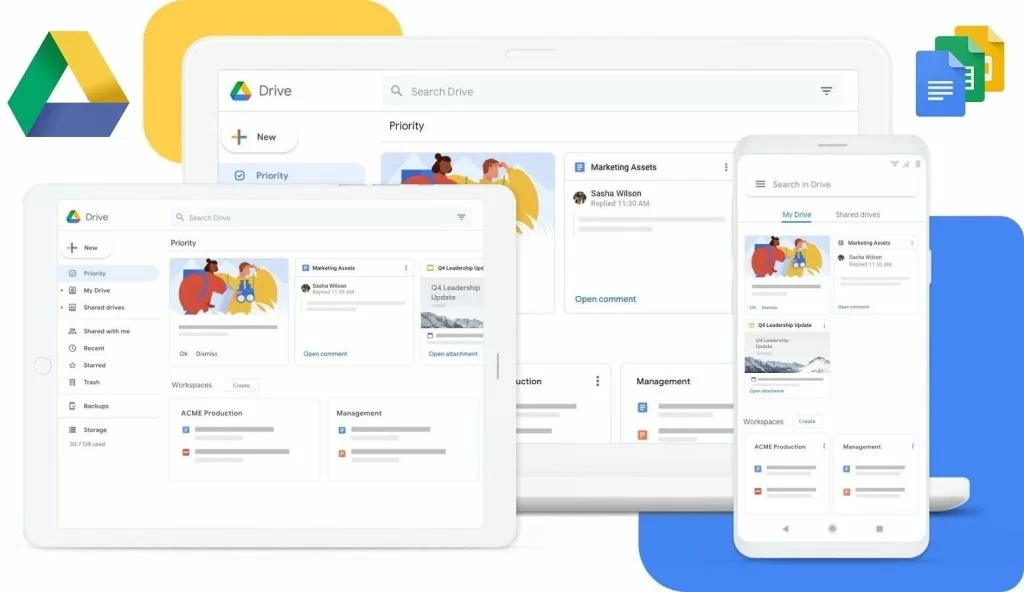
Here is how to transfer any file via Google Drive
On your Android device:
- Open the Google Drive app.
- Tap the “+” button to add new files, then hit the “Upload” button.
- Locate the file you want to upload from your phone.
- Wait for the upload to finish.
On Mac:
- Open drive.google.com in the browser on your Mac.
- Locate the files you have uploaded from your Android device and copy them to the desired destination on your Mac by dragging and dropping them (or right-click on them and click on “Download”).
If you have issues with Android file transfer via USB
Android file transfer not working is a real problem for users. There are many reasons why file transfer might not work correctly; however, you can try to fix this issue by using the following troubleshooting tips:
- Check your computer and phone for software updates.
- Make sure your phone is set for File Transfer.
- Check the USB connection.
- Restart your Android and your Mac.
Try Wi-Fi connection
File transferring between Mac and an Android phone via USB cable was the only option back in time and is widely used even nowadays. However, time doesn’t stand still, and new ways of file transfer appear, namely wireless transfer or, in other words, via Wi-Fi. MacDroid is an excellent variant of the software that keeps up with the times and, along with connection via USB, offers connection via Wi-Fi.
To know how to upload files over Wi-Fi, follow these steps:
1. Make sure you have installed MacDroid on your Mac. Once installed, launch it.
2. Click the “Connect via Wi-Fi” button.
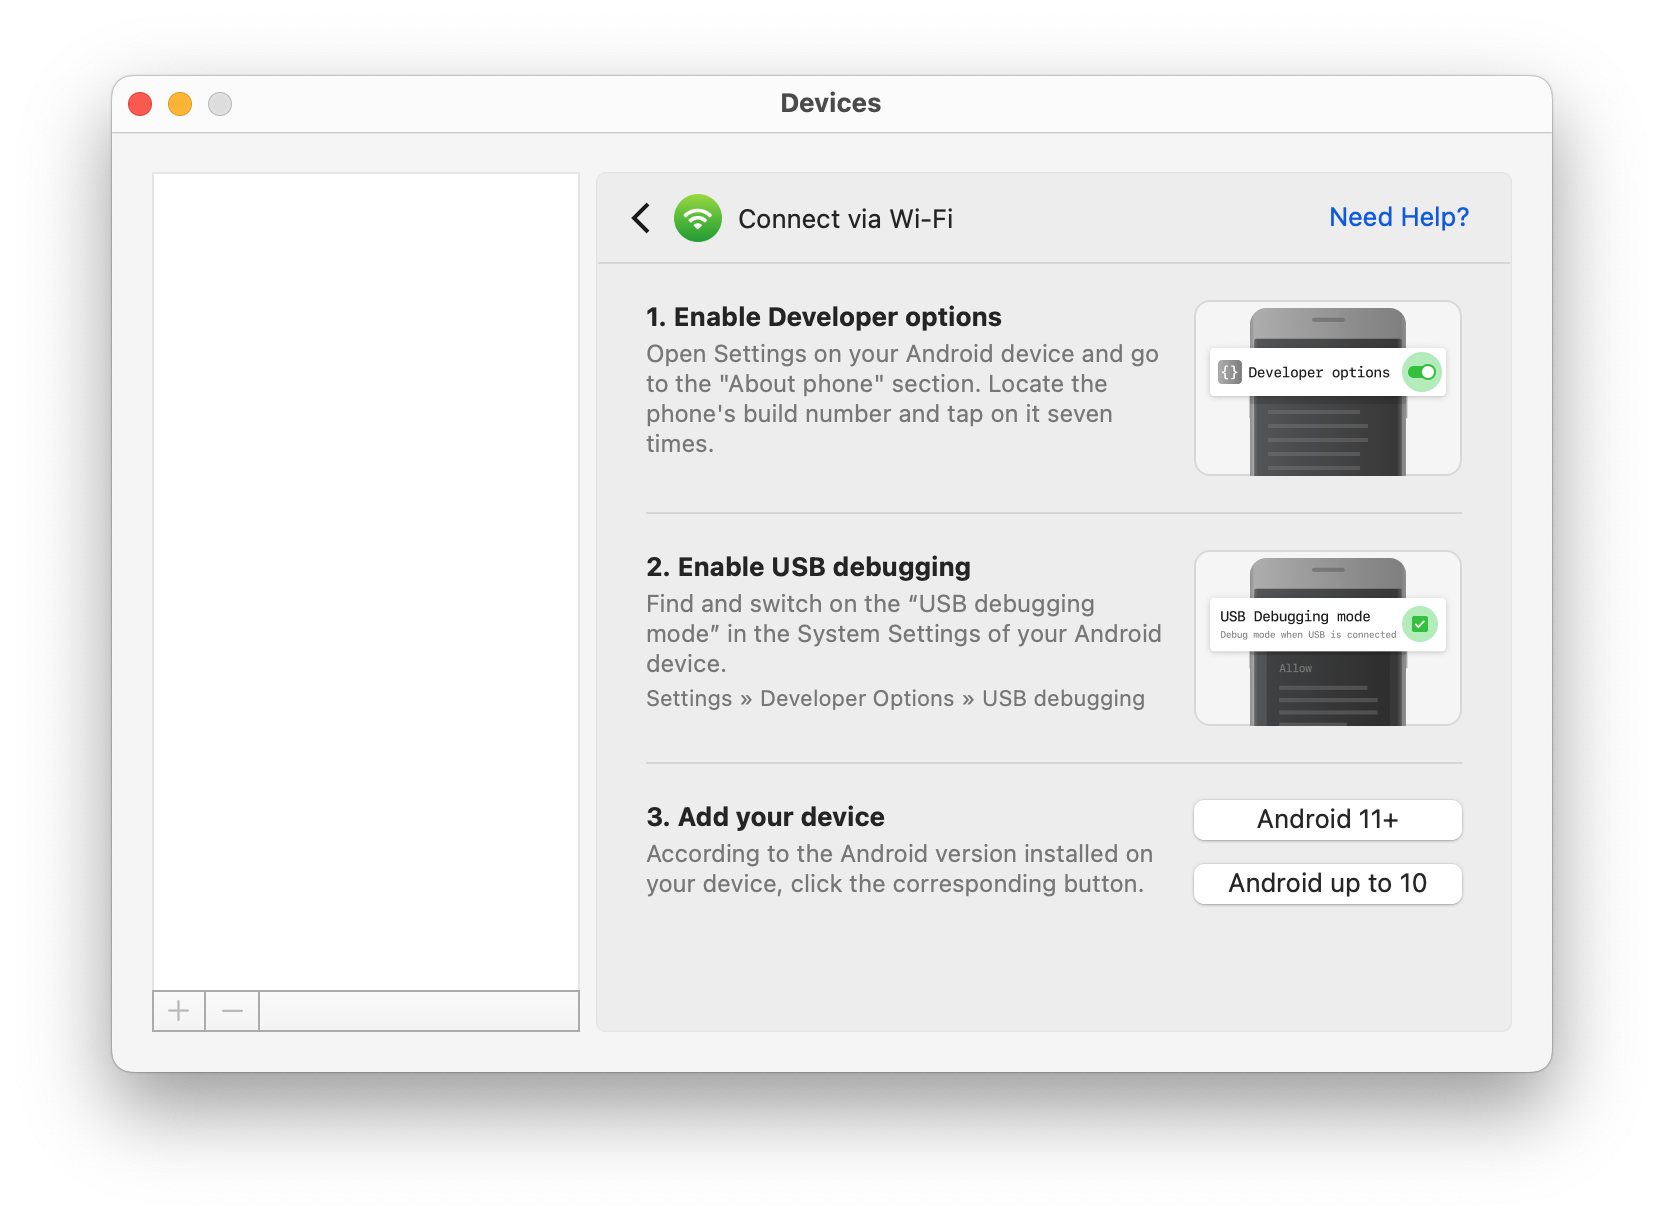
3. Follow the onscreen instructions and enable “Developer options” and the “USB debugging” mode on your Android device.
4. On your Mac, depending on the Android version, click the corresponding button. Below we will consider Android version 11 and higher.
5. On your Android device, go to Settings -> Developer options and enable “Wireless debugging”.
6. Open the “Wireless debugging” setting and tap the “Pair device with QR code”.
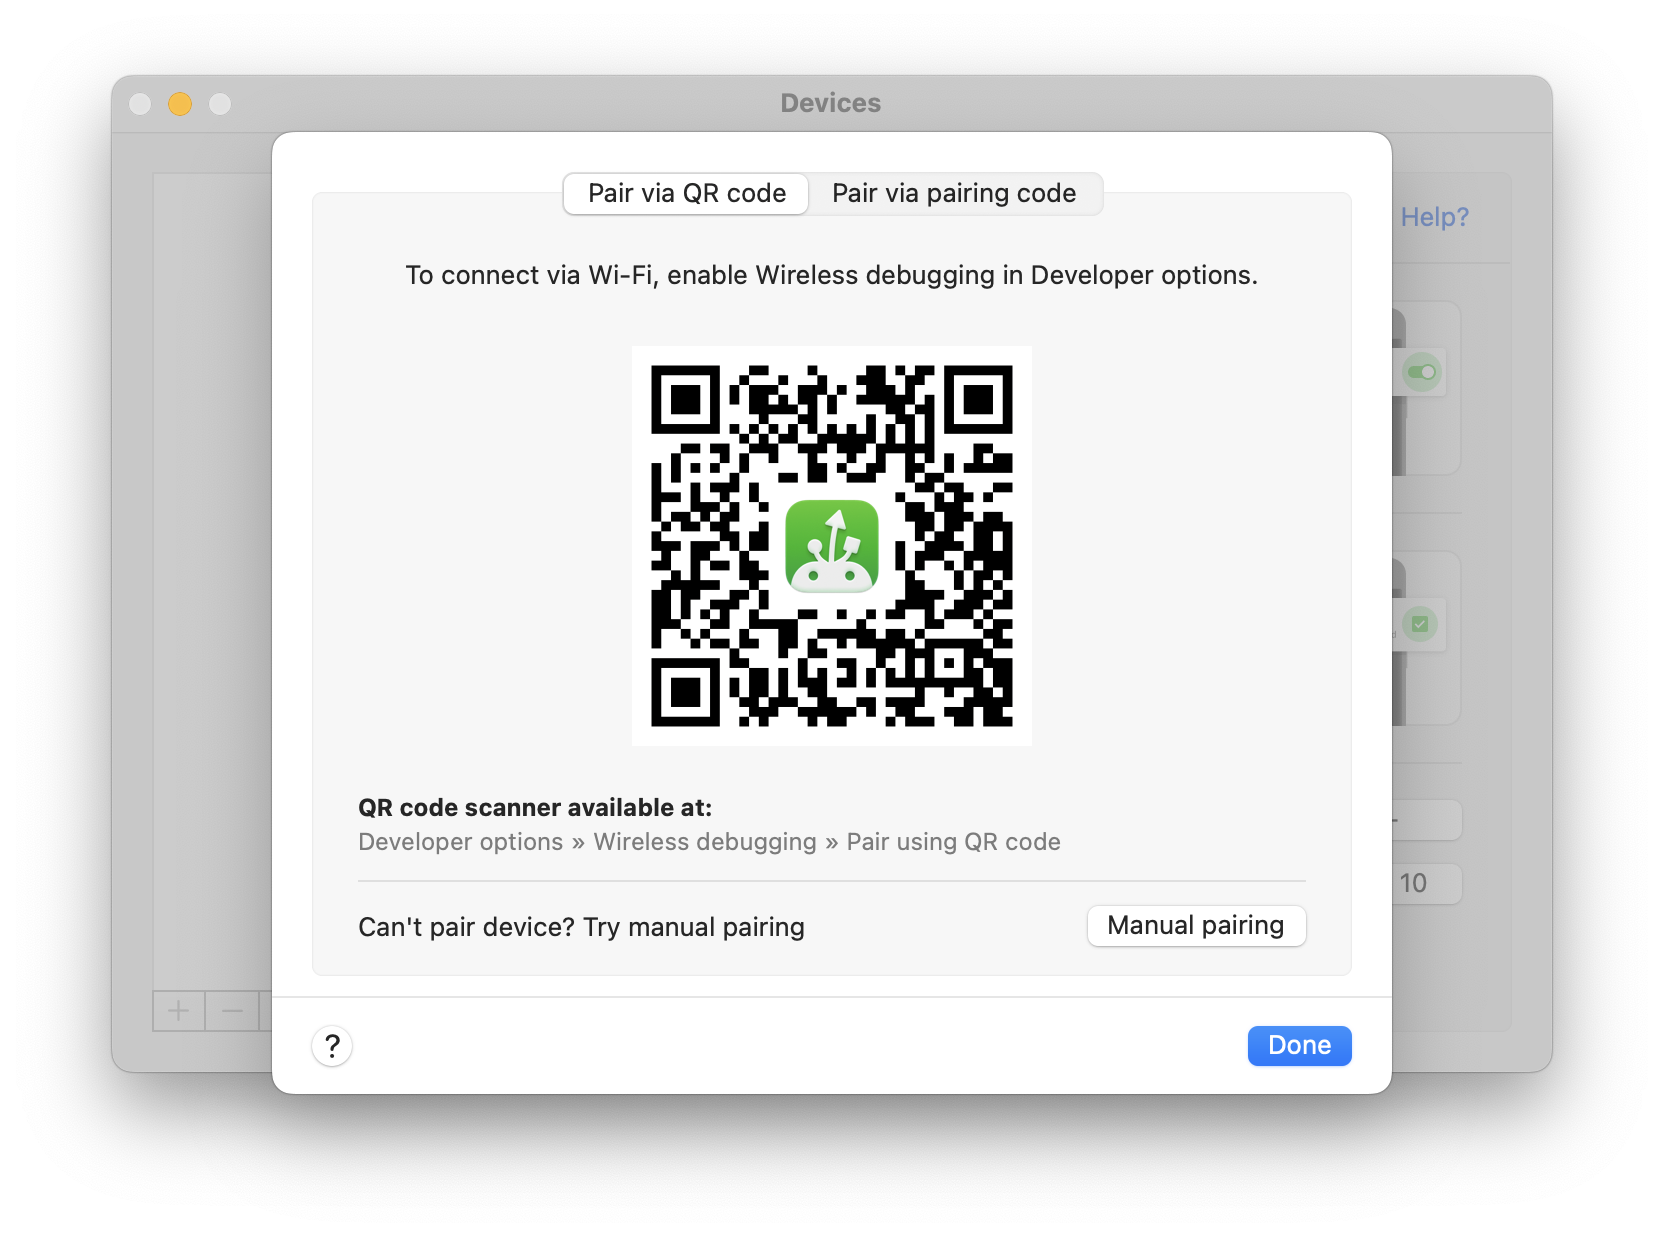
7. Point the camera at the screen of your Mac, where the QR code is displayed. Your device should automatically be connected.
For users with Android version up to 10, connection via Wi-Fi requires different steps. For more details, check out our guide.
Conclusion
If you constantly upload files to your Mac from your Android device, you need a reliable
way to make file transfer as efficient as possible. There are different ways to do this, but using the USB port to transfer data is probably one of the most common as it doesn’t require Internet access. If you work on a Mac computer and need to get your Android files onto it, we definitely recommend considering MacDroid, which acts as a bridge between Android and Mac. It’s fast, easy to use, and provides a seamless file transfer experience. In addition to USB connection, the app can work over Wi-Fi and supports working with different types of files.

